
Free Shipping on all orders $49+ at Peets.com
Most old school bakers will tell you pie crust shouldn’t or can’t be made in a stand mixer. It might be reluctance to try something new. It might be holding onto old fashioned values and traditions that require everything to be made by hand. For whatever reason, you’ll find numerous baking tips that claim you should never, ever use a stand mixer to make pie crust.
In reality, many bakers prefer stand mixers. They love their machines. Same way most of the newer bakers prefer to process everything in a food processor. It’s faster and easier but does the crust come out the same? Not really but the end result is pretty darn good. The crust will be a little less flaky and won’t have as many pockets of flakiness that come from a traditional crust. It’s up to you if you want maximum flakiness or to use a stand mixer that produces a crust that’s “almost” as good.
After reading 100s, if not 1000s of comments left by people who were reluctant to try making their own pie crust, I noticed several common themes or reasons for their not wanting to try. The biggest reason seemed to be not knowing how to properly blend the butter into the dough. The second biggest reason appeared to be rolling out the dough. To our modern generation unfamiliar with old school baking tools, a rolling pin seems like a foreign object. I’m guessing it’s mostly because they didn’t have anyone show them how to bake from scratch.
My grandmother always made the most perfect pies. I was super blessed to grow up in a huge family. My grandmother and her 7 always had a homemade pie for dessert after every meal. I remember going to my aunt’s house on Sunday and the kitchen table was covered with different types of pies and other desserts. These women didn’t grow up with stand mixers or electric hand mixers. They grew up before electricity was even invented. They learned the traditional methods of making pie crust from scratch.

If the following recipe sounds like a foreign language, be patient and give it a try. If the crust doesn’t come out exactly like you’d hoped, don’t give up. Reread the instructions and try to find the step you might’ve overlooked or rushed through the first time. You can create a decent pie crust using a stand mixer. I think I can, I think I can, I think I can… and I will succeed.
One of the biggest mistakes people make when using a stand mixer for pie crust is turning the speed too high. Pie dough is delicate and should never be whipped or beaten aggressively like cake batter or cookie dough. Low speed is the secret. The mixer should gently combine the ingredients while leaving visible pieces of cold butter throughout the dough. Those little pockets of butter melt during baking and create the flaky layers everyone loves in a homemade crust. If the dough starts looking smooth like bread dough, it has probably been overmixed. Stop the mixer as soon as the dough begins clumping together and can hold its shape when pressed between your fingers.
Free Shipping on all orders $49+ at Peets.com
Another advantage of using a stand mixer is consistency, especially for beginner bakers who struggle with blending ingredients by hand. A stand mixer helps reduce the physical effort required to cut butter into flour and can make homemade pie crust feel less intimidating. Once you become comfortable with the process, you can experiment with small flavor additions such as cinnamon, maple extract, citrus zest, or vanilla. These subtle ingredients can complement fruit fillings without overpowering them. Even experienced pie bakers sometimes use stand mixers when preparing multiple crusts during holidays or large family gatherings because the process is quicker, cleaner, and easier on the hands.
Making Pie Crust With a Stand Mixer
Utensils & Equipment
- 1 electric stand mixer
- 1 Rolling Pin
- 1 pie crust rolling mat optional
- 1 spatula or spoon
- 1 measuring cup
- 1 set of measuring spoons
Ingredients List
- 2 1//2 cups all-purpose flour
- 1/4 cup vegetable shortening
- 1/4 tsp salt
- 10 Tbsp butter unsalted
- 10 Tbsp water
- 1 tsp vanilla extract optional
Instructions
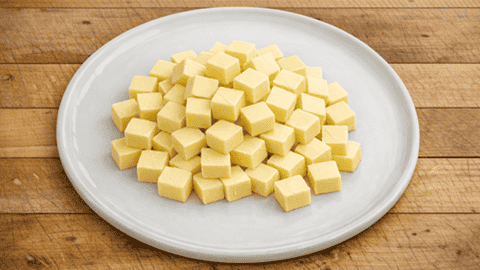
Prepare The Butter
- Cut the butter into tiny cubes and freeze for a few minutes. The cold butter is what creates the flakiness in your crust.

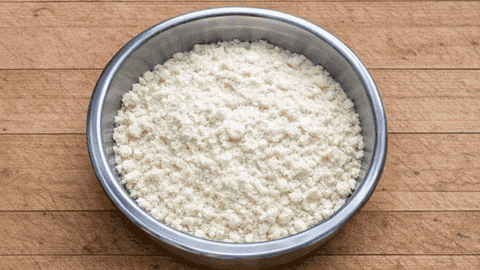
Mix
- Add the flour, salt, and vegetable shortening to the mixing bowl of your stand mixer. If you have one, use the dough attachment.
- Turn mixer speed on 2 and beat until the mixture is crumbly. You might need to scrape down the bowl with a spatula to get the mixture evenly crumbly.
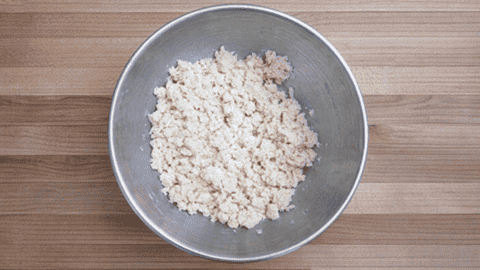
Add The Butter
- Add the cubed butter and mix on 2 until clumpy. Do not overmix. You don't want it to be evenly crumbly. The dough should be clumpy, like larger chunks than crumbly.
- Do not overmix. The dough should be clumpy, like large chunks. You want to be able to see the cubes of butter.
Add The Water
- Slowly drizzle in the water, one tablespoon at a time.
- There is no exact amount of water to add. It might take 5 Tbsp or all 10.
- Stop adding water when the dough starts to form larger chunks.
- Test the dough by pinching between your fingers. If the dough sticks together then stop mixing!
- Turn off the mixer.
Divide and Refrigerate The Dough
- Place the dough on floured board, parchment paper, or silicone rolling mat.
- Divide the dough into two disks. One should be larger than the other. The larger disk will be for the bottom crust.
- Wrap both disks in plastic wrap and refrigerate for at least 30 minutes.
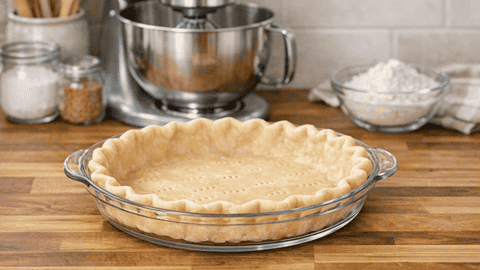
Roll The Dough
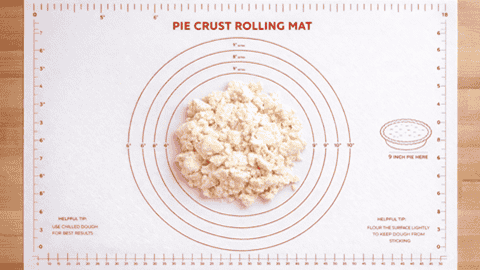
- Roll the two disks of dough to the desired sizes. A pie crust rolling mat takes the guesswork out of what size to roll the dough.
- If you're not going to be baking a pie right away, wrap the crusts in plastic wrap and refrigerate.
Nutrition
Free Shipping on all orders $49+ at Peets.com